Mortal Shell 2 Builds
The best build for a first run, the systems that make it work, and focused Shell loadouts for every combat rhythm.
A hard fight in Mortal Shell II turns the moment your loadout stops pulling in different directions. Your Shell sets the pulse, your weapon and Tarstone decide what an opening is worth, your sidearm closes distance, and your Seal changes the defensive beat. This Mortal Shell 2 build guide puts that whole machine on one page: start with the best build, then tune the pieces without burning scarce upgrades on a detour.
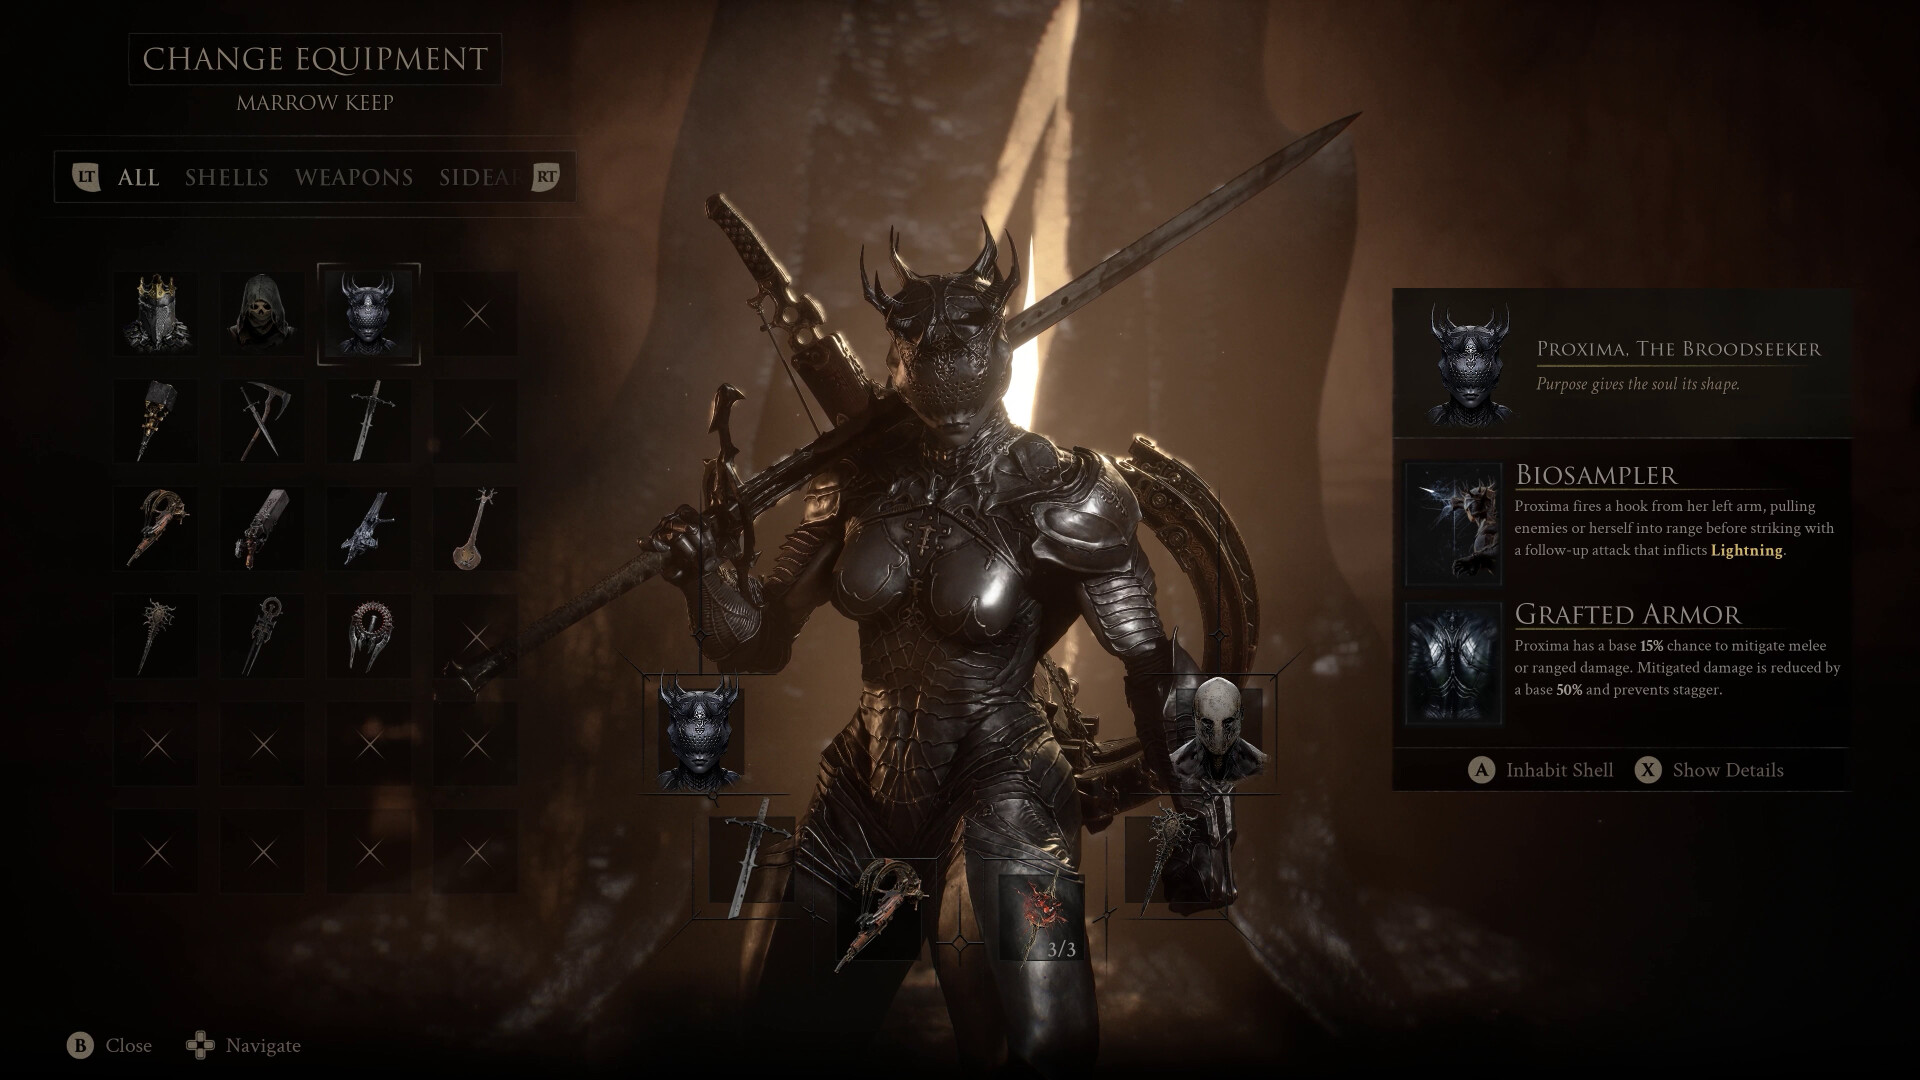
The Best Build: Broodseeker Starter
The Broodseeker Starter is the best build for a first run: Proxima, Veteran's Battle Axe, Triarch Repeater, one levelled Tarstone, and the Gloomslayer Seal. It is inexpensive to assemble and gives you a clear answer at every range. Proxima supplies crowd control and area-of-effect pressure; the axe brings reach and break pressure; the Repeater answers targets that refuse to stand in front of you.
Shell: Proxima · Melee: Veteran's Battle Axe · Sidearm: Triarch Repeater · Tarstone: one stone, upgraded before a second investment · Seal: Gloomslayer Seal.
Give the build its first Glimpses through Proxima's crowd-control and area-of-effect direction, then reinforce the axe's reach and break pressure. Add Repeater support after the core loop feels dependable. The build's strength is focus: its Tarstone remains useful as you explore other weapons, while the Shell, melee weapon, sidearm and Seal already cover the opening regions without asking you to rebuild the plan.
| Pick this build when you want… | Shell and loadout | Combat identity |
|---|---|---|
| A reliable first run | Broodseeker Starter: Proxima, Veteran's Battle Axe, Triarch Repeater, one levelled Tarstone, Gloomslayer Seal | Crowd control, reach, range and break pressure in one Mortal Shell 2 build. |
| Speed, crits and stealth | The Acolyte: Tiel, Axe & Dagger or Black Needle, Crossbow, critical-hit and poison Tarstone focus, Infinite Seal | Fast pressure, poison stacking and a parry-led rhythm. |
| Durability and heavy answers | The Venerable: Eredrim, Great Martyr's Blade or Obsidian Hammer, Crossbow, heavy-damage Tarstone focus, Untarnished Seal | Absorb pressure, return a heavy hit, then finish the fight. |
| A high-risk ceiling | The Unbound: Smert, a weapon matching your rhythm, any sidearm, damage Tarstone focus, parry or utility Seal | Time-stopping Miracle and Fight Stance healing traded against low health. |
How a Mortal Shell 2 Build Works
Every Mortal Shell 2 build has five pieces, arranged as four working systems. The Shell is your foundation. Weapon and Tarstone are a single offensive system because an infusion changes a weapon's scaling and properties. The sidearm supplies a ranged option inside the same combat plan, while the Seal changes what defence asks of you.
| System | What it controls | Build question to answer |
|---|---|---|
| Shell | Health, stat spread, speed and a unique active ability. | Do you want Proxima's control, Tiel's speed, Eredrim's durability, or another Shell's rhythm? |
| Weapon + Tarstone | Moveset, scaling and infused properties. Weapon-specific abilities unlock through Familiarity. | Which melee range and tempo will carry your Mortal Shell 2 build? |
| Sidearm | Ranged backup that fits into your combos. | How will you punish distance or support your melee pressure? |
| Seal | Defensive action, parry utility and recovery behaviour. | Which defence rhythm keeps you in control? |
The roster has ten melee weapons and eight sidearms, so the best build is not one universal weapon choice. A fast Shell can make the Axe & Dagger feel natural; a durable Shell can turn a deliberate heavy weapon into its whole argument. Tarstones then let the same weapon change with the Shell it serves. That is why a loadout should begin with a playstyle, not a list of isolated rankings.
Choose one weapon early, grow one Tarstone, and only branch to a second weapon after your main Mortal Shell 2 build is online. Familiarity rewards committed weapon use, while a levelled Tarstone can move between weapons.
Seals are shared by every Shell and gained through the story or at locations, which makes them the cleanest way to change a build's defence without abandoning its offensive investment. A good build therefore has a simple loop: use your Shell's strengths to create an opening, use the weapon and Tarstone to cash it in, use the sidearm when spacing breaks, and defend with a Seal whose timing you will actually use.
Adaptive Difficulty is an experimental, optional setting under Game > Game Settings > Adaptive Difficulty, and it is off by default. When enabled, it responds to your performance by adjusting enemy damage, health and break resistance in either direction, then eases back toward the standard balance over time. A strong run can make enemies tougher than the original top difficulty; a difficult run can reduce those same values. Night Mode is the exception: it can become harder, but it is never reduced.
Seals Set the Defensive Rhythm
A Seal is not a passive box to tick. It tells your Mortal Shell 2 build what a dangerous moment becomes: a guarded exchange, a hardened answer, a parry, or an opportunity to redirect Break pressure. All Seals work across every Shell, so you can keep a weapon and Tarstone plan intact while changing the timing that carries it.
| Seal | Defensive action | What it changes in a build |
|---|---|---|
| Untarnished Seal | Guard and Perfect Guard. | Build around held defence and the timing of a perfect answer. |
| Vatra's Seal | Harden and Perfect Harden. | Turn incoming pressure into a hardening rhythm. |
| Infinite Seal | Parry. | Supports a build that lives on precise defensive timing. |
| Gloomslayer Seal | Redirects Break pressure toward the sidearm and provides riposte recovery. | Gives the Broodseeker Starter its forgiving first-run shape. |
The Untarnished Seal suits the player who wants to hold ground with Guard; Vatra's Seal asks you to find the Harden beat instead. Infinite Seal makes the parry the centre of the exchange. Gloomslayer changes the pressure around Break by moving it toward the sidearm and adding riposte recovery, which is why it belongs in the recommended best build rather than being treated as a generic utility slot.
Match the Seal to the action you make when a fight gets loud. Tiel's speed-oriented build has room for Infinite Seal because its fast loop rewards parry timing. Eredrim can use Untarnished Seal to reinforce the feeling of holding the line. The Broodseeker Starter uses Gloomslayer because it keeps its sidearm relevant when its defence is tested. That choice makes the build coherent before a single extra upgrade is spent.
Tarstones: Ten Slots, Four Types, One Priority
Tarstones are where a Mortal Shell 2 build stops being a pile of gear and becomes personal. An infused Tarstone changes a weapon's scaling and adds properties. Each one can reach level four through kills while equipped, and its level moves with it when you swap weapons. The world holds roughly 73 to 75 Tarstones in total; finding the full set is tied to the Stoned trophy.
| Tarstone type | Where it fits | What it governs |
|---|---|---|
| Support | Shell-compatible slots | Tarstones compatible with your Shell. |
| Combat | Weapon-side slots | Combat-focused effects. |
| Infusion | Weapon-side slots | Weapon infusion effects. |
| Ability | Weapon-side slots | Ability-focused effects. |
Ten slots total: four Shell slots, plus two Combat, two Infusion and two Ability slots on the weapon side. Support Tarstones need Shell compatibility; the other six slots let a weapon carry two stones from each listed type.
| Tarstone | Known effect | Useful pairing |
|---|---|---|
| Duality Stone | Light-attack combos strike twice. | A core choice for Axe & Dagger and Axatana plans. |
| Arbiter's Prize | A second core Tarstone for Axe & Dagger. | Build around it when the dual-weapon rhythm is your priority. |
| Wounding Stone | Melee attacks build Perforation: 2, then 4, then 7 stacks as it improves. | A melee-first build that wants repeated hits to matter. |
| Accursed Stone | Spends Resolve to apply Curse to the sidearm. | A sidearm-forward plan or a build that needs a ranged answer. |
The upgrade lesson is blunt: bring one Tarstone to level four before spreading kills across several partial stones. That investment follows the stone between weapons, so it does more work than a scattered set of half-built effects. The best build does not need every slot immediately; it needs one upgraded Tarstone that already supports the weapon you trust.
Unlock the Tarforge Before You Need It
The Tarforge sits in Marrow Keep beside Franz, but its full function is not simply waiting at the start. You unlock all of it with a five-item set: the Muradean Actuator, Obsidian Lathe, Etching Needles, Foundry Stone and Endless Core. The first piece appears in the prologue; the remaining pieces are scattered through the dungeons, making the full set easy to miss while you are only following the main route.
| Tarforge unlock item | Planning note |
|---|---|
| Muradean Actuator | Part of the five-item set that unlocks every Tarforge function. |
| Obsidian Lathe | Part of the five-item set; the other pieces are spread through dungeons. |
| Etching Needles | Part of the five-item set needed beside Franz in Marrow Keep. |
| Foundry Stone | Part of the five-item set needed for full Tarforge access. |
| Endless Core | Part of the five-item set; check dungeon progress before assuming the forge is complete. |
That placement turns Tarforge progress into a build concern, not a housekeeping errand. If your preferred Tarstone is ready to grow but the forge still lacks its set, track the missing unlock pieces instead of scattering investment into replacements. The system rewards a deliberate route because each of those five items protects the long-term value of the Tarstone you already chose.
The day-one patch adjusted Tarstone costs. Smelting now spends Gloom and returns gold, while weapon upgrade tiers remain unchanged. Plan the forge around that current exchange rather than treating gold and Gloom as interchangeable.
Franz is the person to revisit when your build reaches a real upgrade decision. Arrive with the five unlock items in mind, one Tarstone worth improving, and enough Gloom for the smelting exchange. The Tarforge does not ask you to own every weapon; it asks you to decide which build deserves the next step.
Are Late Upgrades Worth It?
Player discussion still centers on the upgrade economy, but the Week 1 Update moved the pain point. Late tiers of a single Tarstone or weapon still cost a large amount of Gloom for a small percentage gain, while respeccing no longer punishes you: Mether's Severance, given to Zhirelle the Shellkeeper, severs your Bond with a Shell and refunds every Glimpse you spent on it. Player reports describe late upgrades that ask for tens of thousands of Gloom while returning only a single-digit percentage increase to a critical-hit or attribute bonus. That last increment may still help a finished build, but it is poor value when another core piece is lagging behind.
Treat the final tiers as specialization, not routine maintenance. First fund the Shell, weapon and Tarstone combination that makes your combat loop work; then decide whether a narrow improvement solves a real problem. If a boss is exposing weak spacing or unreliable defense, another expensive percentage point will not repair the loadout by itself. A suitable sidearm, a familiar Seal or a resistance passive may do more for the next attempt.
This is why the resource plan keeps returning to one levelled Tarstone instead of several half-funded options. Concentrated investment gives you a dependable foundation while preserving enough Gloom to respond when the build reaches a genuine bottleneck. Spend on a late tier when you know which effect you are completing and why; otherwise, bank the Gloom until the choice is clear.
One investment outranks every late tier: Shell Bond. A Shell's Bond unlocks its full stat potential, and maxing one costs a fixed 27 Glimpses. Since the Week 1 Update, Glimpses are no longer a finite resource, so a single playthrough can fund maximum Bond on every Shell — the old choice between one finished Shell and three half-finished ones is gone. Community reports still rank Bond investment above the final weapon and Tarstone tiers: a maxed Bond on your main Shell returns a complete stat and ability package, while a late Tarstone tier buys a single-digit percentage for tens of thousands of Gloom. Fund your main Shell's Bond first, then treat the expensive final tiers as specialization — not routine maintenance.
For the full picture — how Gloom, Shell Points, Shell Bond and Tarstone XP fit together, plus a first-run spending order — see the Mortal Shell 2 upgrade system guide.
Resource Planning Keeps a Build Intact
Glimpses used to be the resource most likely to turn an exciting new Shell into an expensive distraction, because a single playthrough could fully develop only about three Shells. The Week 1 Update removed that ceiling: Glimpses and Tarcores are no longer finite, so every Shell can reach its full Bond and every Tarstone can hit level four in one playthrough. What still rewards a plan is Gloom — the forge fuel the late tiers consume — and the time you spend feeding a Tarstone kills. Proxima's control, Tiel's faster loop, Eredrim's durable trade, or Smert's high-ceiling risk all point toward different spending. You do not need every answer at once.
| Resource | What makes it scarce | Best use |
|---|---|---|
| Glimpses | No longer finite after the Week 1 Update; a run can max every Shell's Bond. | Max the Bond of the Shell you play; Mether's Severance refunds Glimpses if you switch. |
| Tarstone kills | Progress is earned while a stone is equipped, up to level four. | Feed one Tarstone until it is strong rather than dividing progress. |
| Gloom and gold | Smelting uses Gloom and returns gold after the day-one adjustment. | Reserve Gloom for the Tarforge path you actually intend to use. |
| Respecs | Mether's Severance severs a Bond and refunds every Glimpse spent on that Shell. | Switch mains without losing your investment. |
Start the Broodseeker Starter by investing in Proxima and one Tarstone. If you switch to Tiel, Eredrim or Smert later, move the levelled Tarstone first and let the new Shell earn its own Glimpse budget at its own pace. This prevents a common trap: several interesting builds, none of them strong enough to carry the next dungeon.
Respecs are useful because a build can change as weapon familiarity grows, and the Week 1 Update made them painless: Mether's Severance refunds every Glimpse you put into a Shell, so switching mains no longer costs progress. The weight now sits with Gloom and Tarstone XP. Keep a sidearm that supports your actual spacing, select a Seal you will press under pressure, and upgrade the Tarstone that makes your chosen weapon feel complete. Those decisions cost less than rebuilding a scattered character.
Shell Build Table: Choose Your Combat Rhythm
The builds below are plans, not cages. Proxima is the broad first-run recommendation because the Broodseeker Starter gives you control, reach and range without demanding perfect execution. Tiel, Eredrim, Smert and Genessa each push the same build systems toward a different kind of confidence: speed, durability, risk or clone pressure.
| Shell build | Recommended pieces | Why it works |
|---|---|---|
| Proxima Starter | Veteran's Battle Axe; Triarch Repeater; one levelled Tarstone; Gloomslayer Seal. | Crowd control and area-of-effect support the axe's reach and break pressure, while the Repeater answers range. |
| Tiel Speed | Axe & Dagger or Black Needle; Crossbow; critical-hit and poison Tarstone focus; Infinite Seal. | Tiel is the fastest Shell, with high crit rate and damage, poison stacking, and stealth that becomes nearly constant at high level. |
| Eredrim Power | Great Martyr's Blade or Obsidian Hammer; Crossbow; heavy-damage Tarstone focus; Untarnished Seal. | High Durability, Shoulder Bash and Executioner support a loop of absorbing pressure and answering with heavy hits. |
| Smert High Ceiling | Weapon matching your rhythm; any sidearm; damage Tarstone focus; parry or utility Seal. | Miracle stops time and Fight Stance heals through attacks, but low health makes every commitment sharper. |
| Genessa Clone Flow | Build components chosen around Genessa's clone-focused flow. | Genessa supports a build centred on her clone mechanic; choose the weapon, sidearm, Tarstone and Seal that fit your timing. |
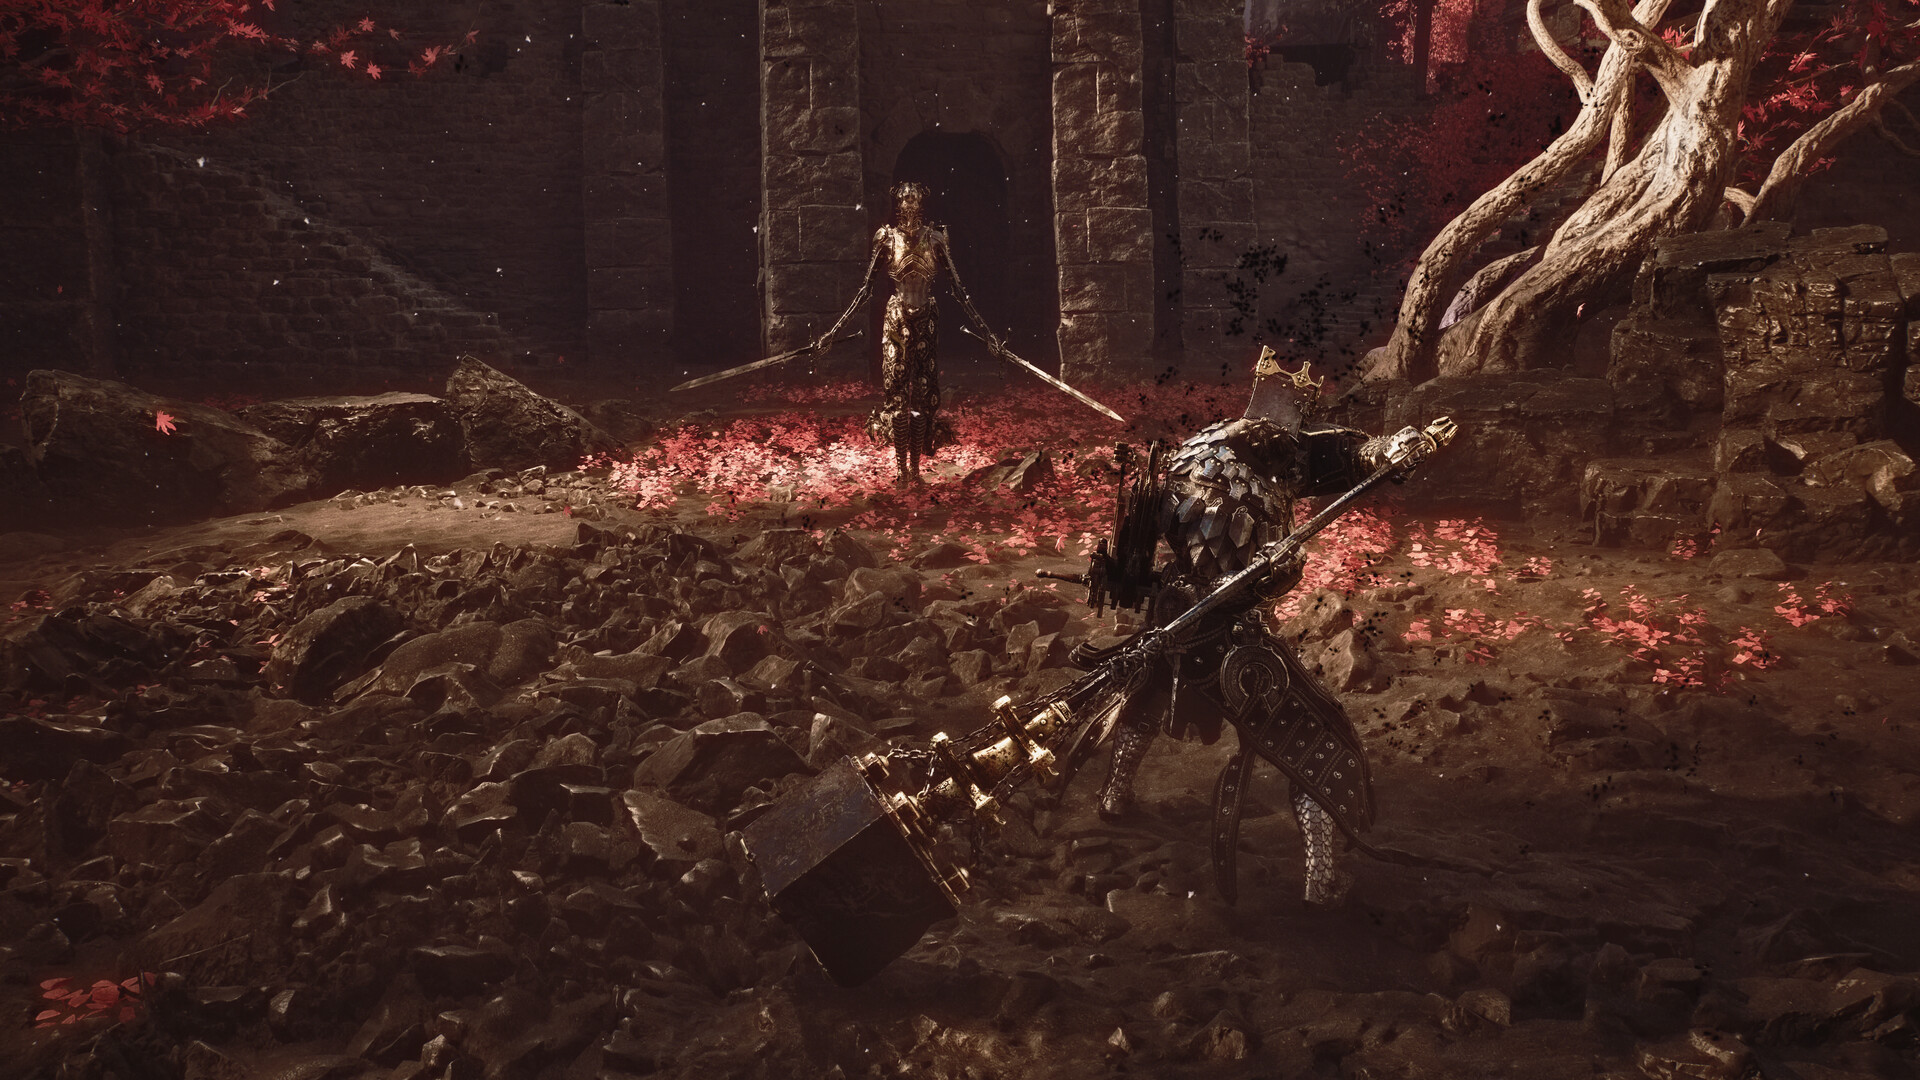
New run: choose the Broodseeker Starter. Fast pressure: choose Tiel. Heavy trades: choose Eredrim. High-risk mastery: choose Smert. Keep one Tarstone growing and let the Seal make your defence feel natural.
A Mortal Shell 2 build works when every piece answers the same fight. Pick the Shell whose tempo you trust, pair it with a weapon you will keep using long enough to gain Familiarity, and make the Tarstone investment count. Your sidearm and Seal finish the plan: one handles distance, the other decides how you survive the moment before your best hit lands.