Mortal Shell 2 Beginner Guide
The world of Mortal Shell II does not hold your hand. This guide covers the first hours properly — what to do first, what to spend, and what not to waste.
Your First Hour: Prologue & Marrowkeep
Mortal Shell II opens with a prologue in Marrowkeep, the game's opening stronghold. You play as the Harbinger and are given Harros the Vassal as your first Shell, along with the Iconoclast weapon. Treat the prologue as a tutorial in disguise: it teaches you the two things that define combat — breaking enemy posture and punishing with critical strikes.
Once the prologue ends, you step into the open world. Do not beeline for the horizon. First-day guides agree on the same opening shopping list:
- Unlock Proxima — one of the best early Shells, found in the opening region (see the Proxima guide).
- Pick up the Veteran's Battle Axe — consistently rated the strongest early weapon.
- Grab the Triarch Repeater — your first sidearm, and a lifesaver for kiting packs.
- Light and cleanse every Beacon you find — they are your save points, fast-travel network and safety net.
Beacons: Cleanse Everything
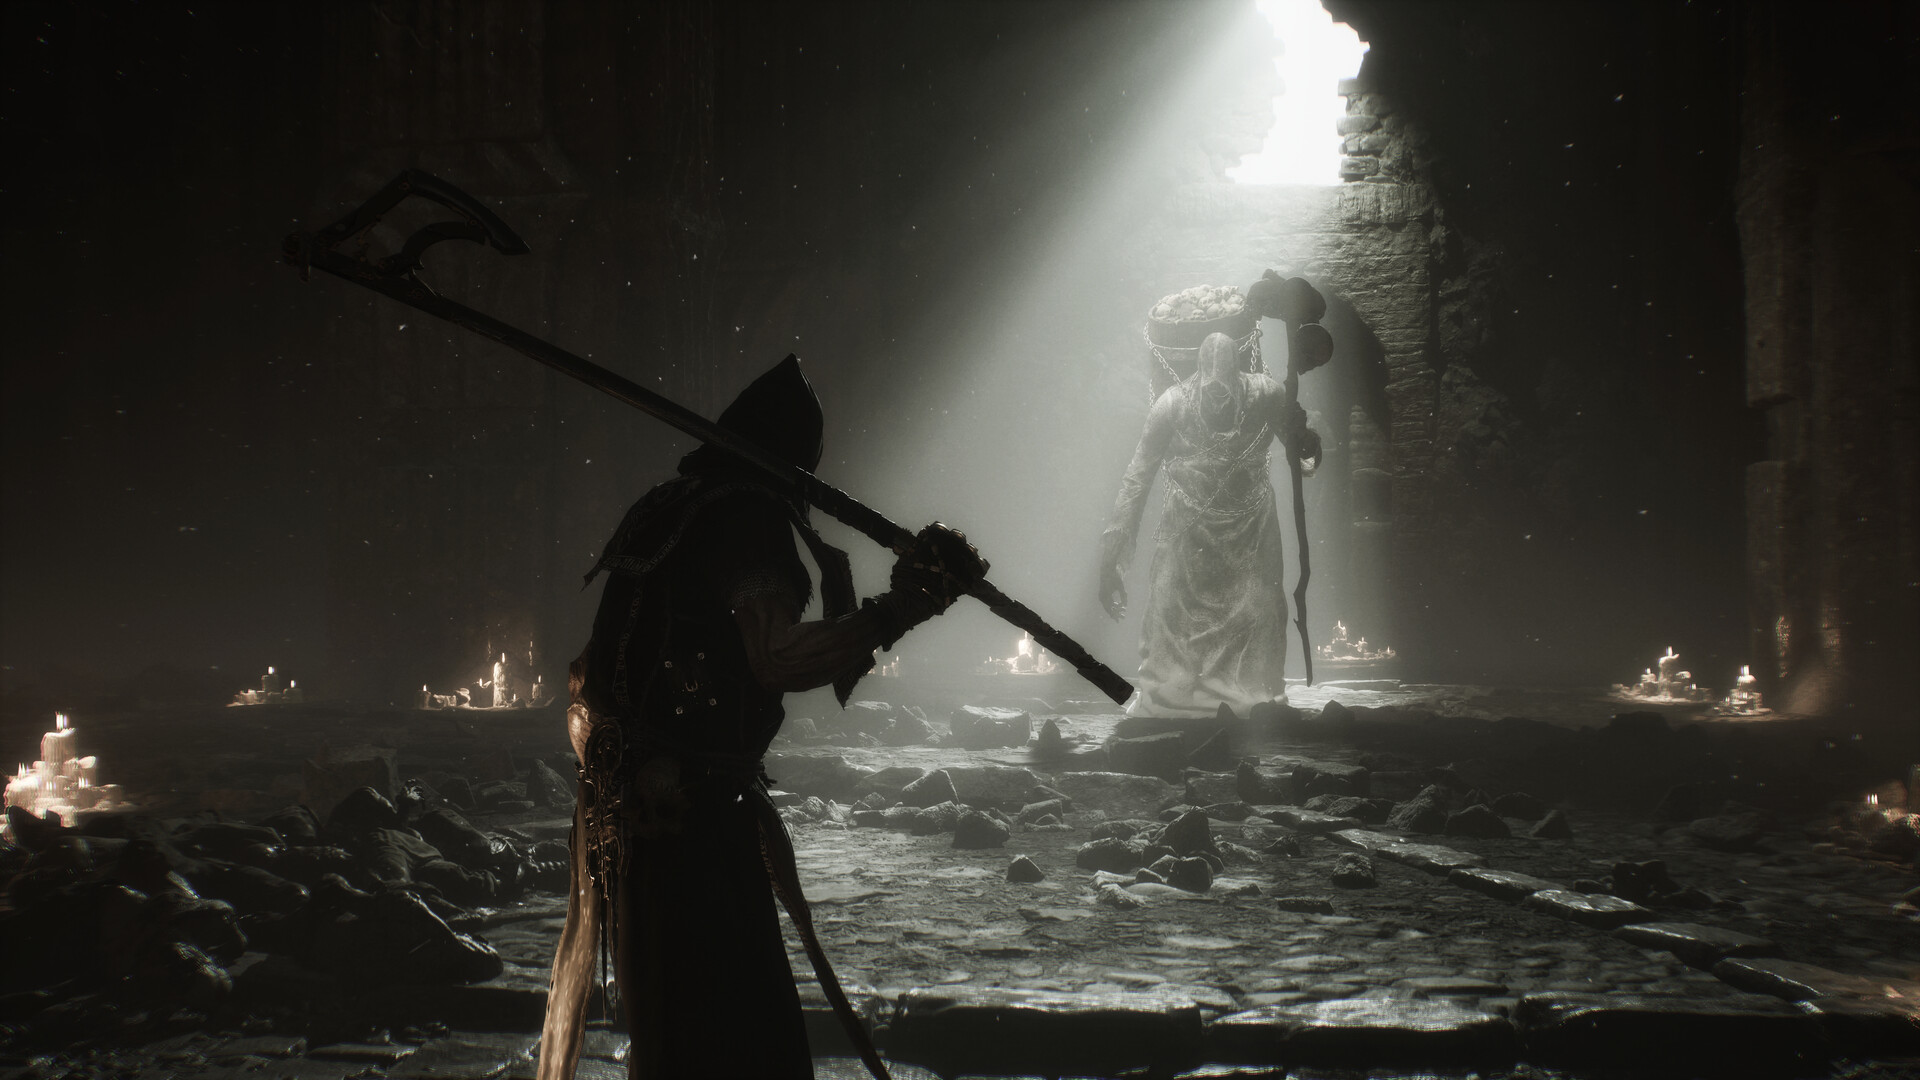
Beacons are Mortal Shell II's bonfires. Lighting one gives you a respawn point; cleansing it unlocks fast travel between beacons via the Mether's Breath ability. Every single early guide — from speedrunners to completionists — repeats the same advice: always cleanse beacons. The moment you skip one "because you'll come back later" is the moment you're trekking across the map on foot after a death.
Glimpses Are Limited — Spend Wisely
Glimpses are the XP-like currency you spend on skill points and upgrades, and they are not as abundant as you'd expect. Guides are blunt about this: you are actively wasting your run if you spread Glimpses thin across small purchases. Save toward the skill points and upgrades that matter for your chosen Shell, and know that respecs exist — but they are not something to rely on every hour.
Tarstones Are OP — Focus One
Tarstones are weapon-upgrade items, and they're the best damage-per-investment in the game. The verified logic: a Tarstone's level persists across every weapon you infuse it into, so a single maxed Tarstone makes every new weapon you pick up immediately stronger. First-day consensus: pick one Tarstone, level it early, and infuse it into your main weapon at the first forge (the prologue's Marrowkeep forge works). Spreading Tarstone upgrades across three stones is how runs stall out mid-game. Full details on the weapons page.
Best Early Loadout
Shell: Proxima (or keep Harros) · Melee: Veteran's Battle Axe · Sidearm: Triarch Repeater · Tarstone: one stone, levelled, infused into the axe · Seal: Slayer Seal for a smoother first run.
This is the loadout that multiple independent early guides converge on. It's fast to assemble, strong against the opening region's Grisha and ritualists, and flexible enough to carry into the mid-game while you decide your real build.
Combat Fundamentals
There is no stamina bar in Mortal Shell II, but that does not mean you should mash attack. The combat loop that works:
- Break posture. Enemy poise is the real health bar. Attacks, heavy hits and parry-timing all contribute.
- Punish critically. A staggered enemy takes critical strikes — this is where damage actually lives.
- Use your sidearm. Free-aim vs. auto-lock matters; pulling a Repeater shot mid-combo interrupts enemy attacks from range.
- Ground Slam and Resolve Tendril are unlockable utilities that add crowd control — keep an eye out for them.
- Don't sleep on traps and barrels. Exploding barrels and environmental traps are cheap, effective posture damage against packs.
Exploring the Open World
The world is interconnected and deliberately compact, but it still hides its map from you. Two systems to learn early:
- Map fragments reveal the world map piece by piece — hunt them in each region before judging the area "explored."
- Crows and map fog mark your exploration progress; where fog remains, something usually remains.
- Fog-gated dungeons are the game's instanced challenge rooms. Mark them when you find them, complete them when you're leveled — and track which you've cleared, because they don't re-open.
The full collectible and dungeon tracking lives on the map page.
Mistakes to Avoid (From 30+ Hour Players)
Early reviewers who finished the game keep flagging the same avoidable mistakes. Check yourself against this list before hour five:
- Skipping beacons — never. Cleanse everything, always.
- Spreading Glimpses — concentrate on your build's key upgrades.
- Ignoring Tarstones — the game's biggest damage multiplier, left unleveled.
- Neglecting Familiarity — weapon-specific abilities unlock with use; a weapon you never use is a weapon with no kit.
- Skipping night mode areas — some of the best loot and encounters are gated to the world's night state.
- Sleeping on sidearms — the Repeater and Crossbow turn losing fights into winning ones.
- Dying with Gloom uncollected — your dropped Gloom (Lost Gloom) can be recovered where you fell; double-deaths lose it.
- Not marking dungeons — fog-gated dungeons are easy to forget and impossible to re-enter; mark them on sight.
- Wasting money on consumables early — first-day guides suggest saving gold for forge costs and Tarstone upgrades.
- Ignoring settings — spend five minutes in the options menu; free-aim vs. auto-lock and input feel change the whole game.
Ready for the full route? The walkthrough hub breaks the game down chapter by chapter.