Mortal Shell 2 Walkthrough Guide
From the Marrowkeep prologue to the end of the world — chapter navigation, checkpoints, and everything worth collecting along the way.
How the Game Is Structured
Mortal Shell II is not a linear corridor like its predecessor. Its structure, including the main region route, is now confirmed:
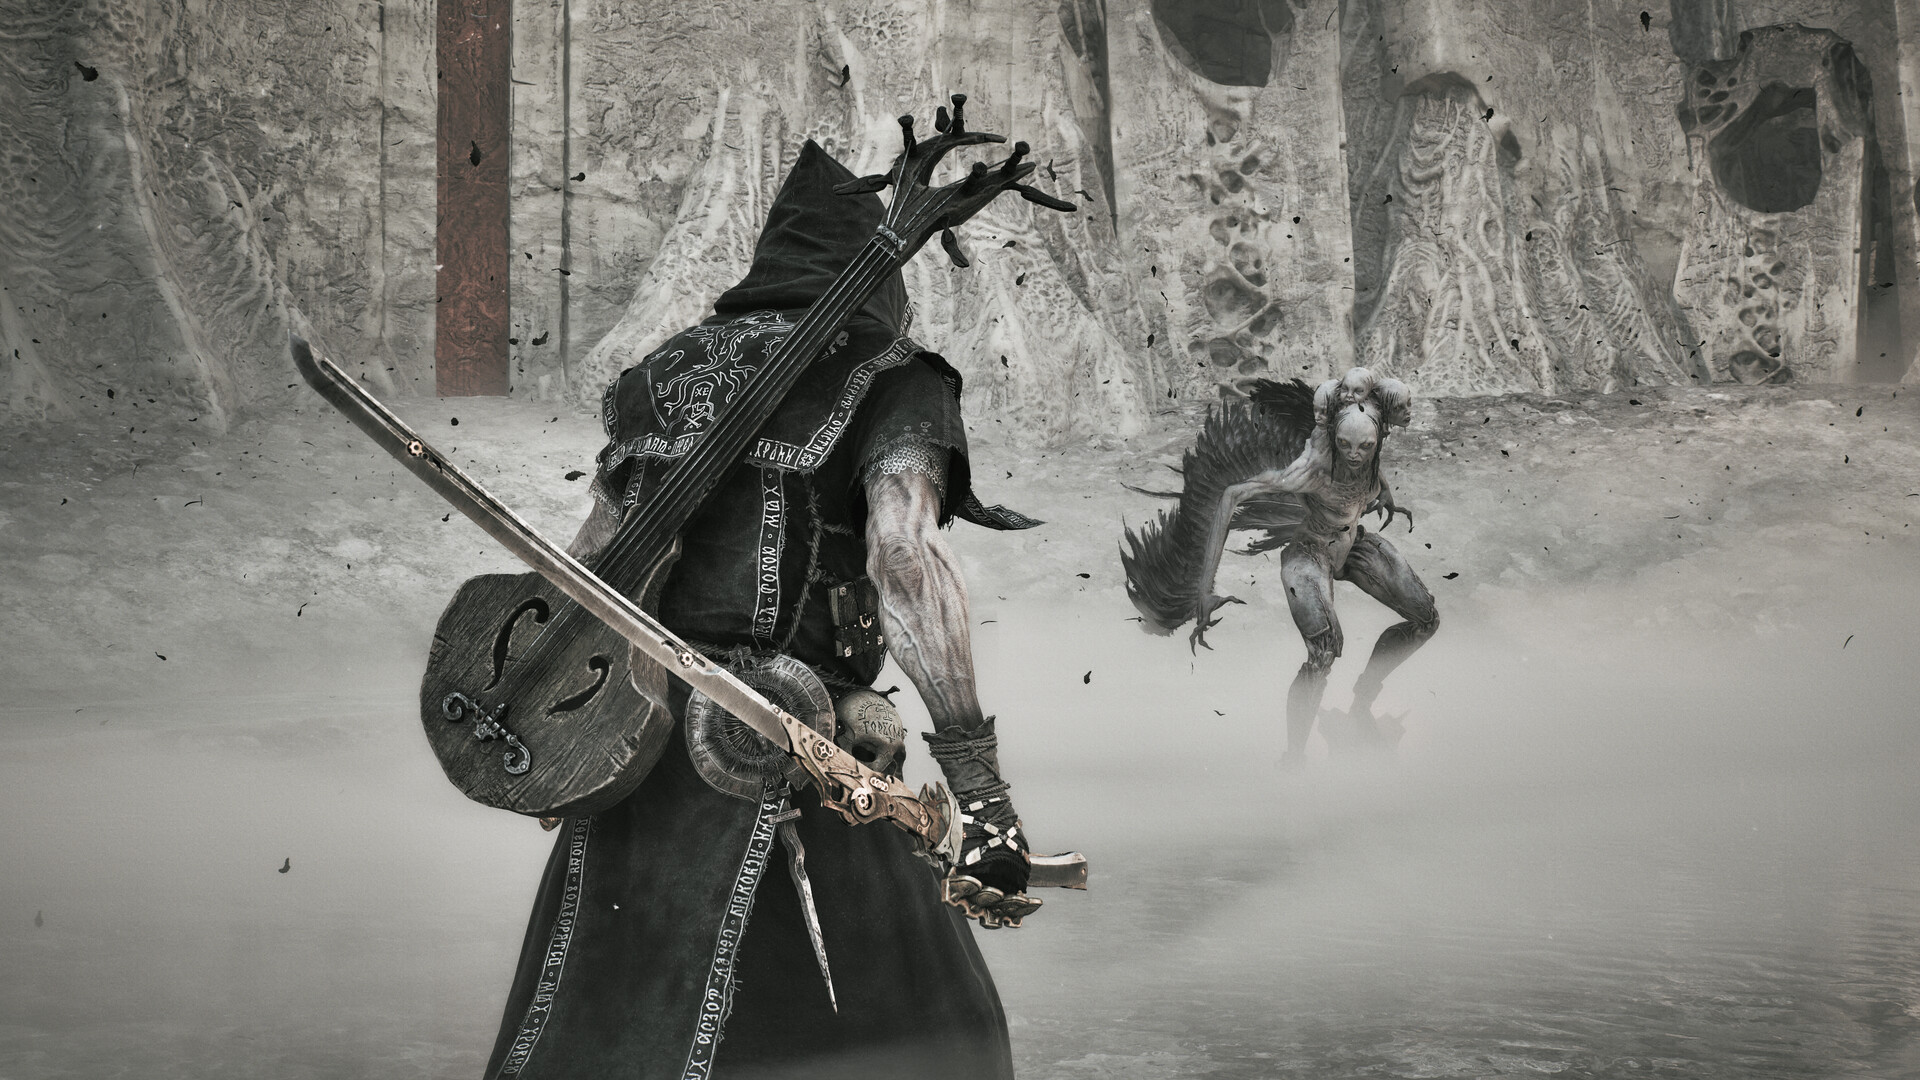
- Chapter 0 — The Prologue: a guided opening inside Marrowkeep that teaches combat and hands you your first Shell (Harros) and weapon (Iconoclast).
- The Open World: an interconnected, "deliberately compact" landscape that opens up after the prologue. Progression flows region to region, unlocked by cleansing beacons, clearing fog-gated dungeons and defeating ritual bosses.
- Endgame: the closing stretch concentrates around the game's final bosses and endings, reached after all regions open.
Because the world is open, the "correct" route is really a suggested order. This hub gives you the verified spine — chapter 0, then the confirmed region order, then missables — and each section will expand into its own page as locations are fully verified.
Chapter 0 — Marrowkeep (Prologue)
The prologue takes place entirely in Marrowkeep, the game's opening stronghold. What to know:
- You play as the Harbinger, hatch from your Ova, and are directed by your Mether to recover lost Ova and claim your first Shells.
- You possess Harros the Vassal and the Iconoclast, and the opening teaches posture-breaking and critical strikes against the first Grisha encounters.
- Marrowkeep contains the first forge — use it to start levelling your first Tarstone before leaving.
- The prologue's late stretch includes the game's first ritual boss fight (see the bosses page).
The Open World
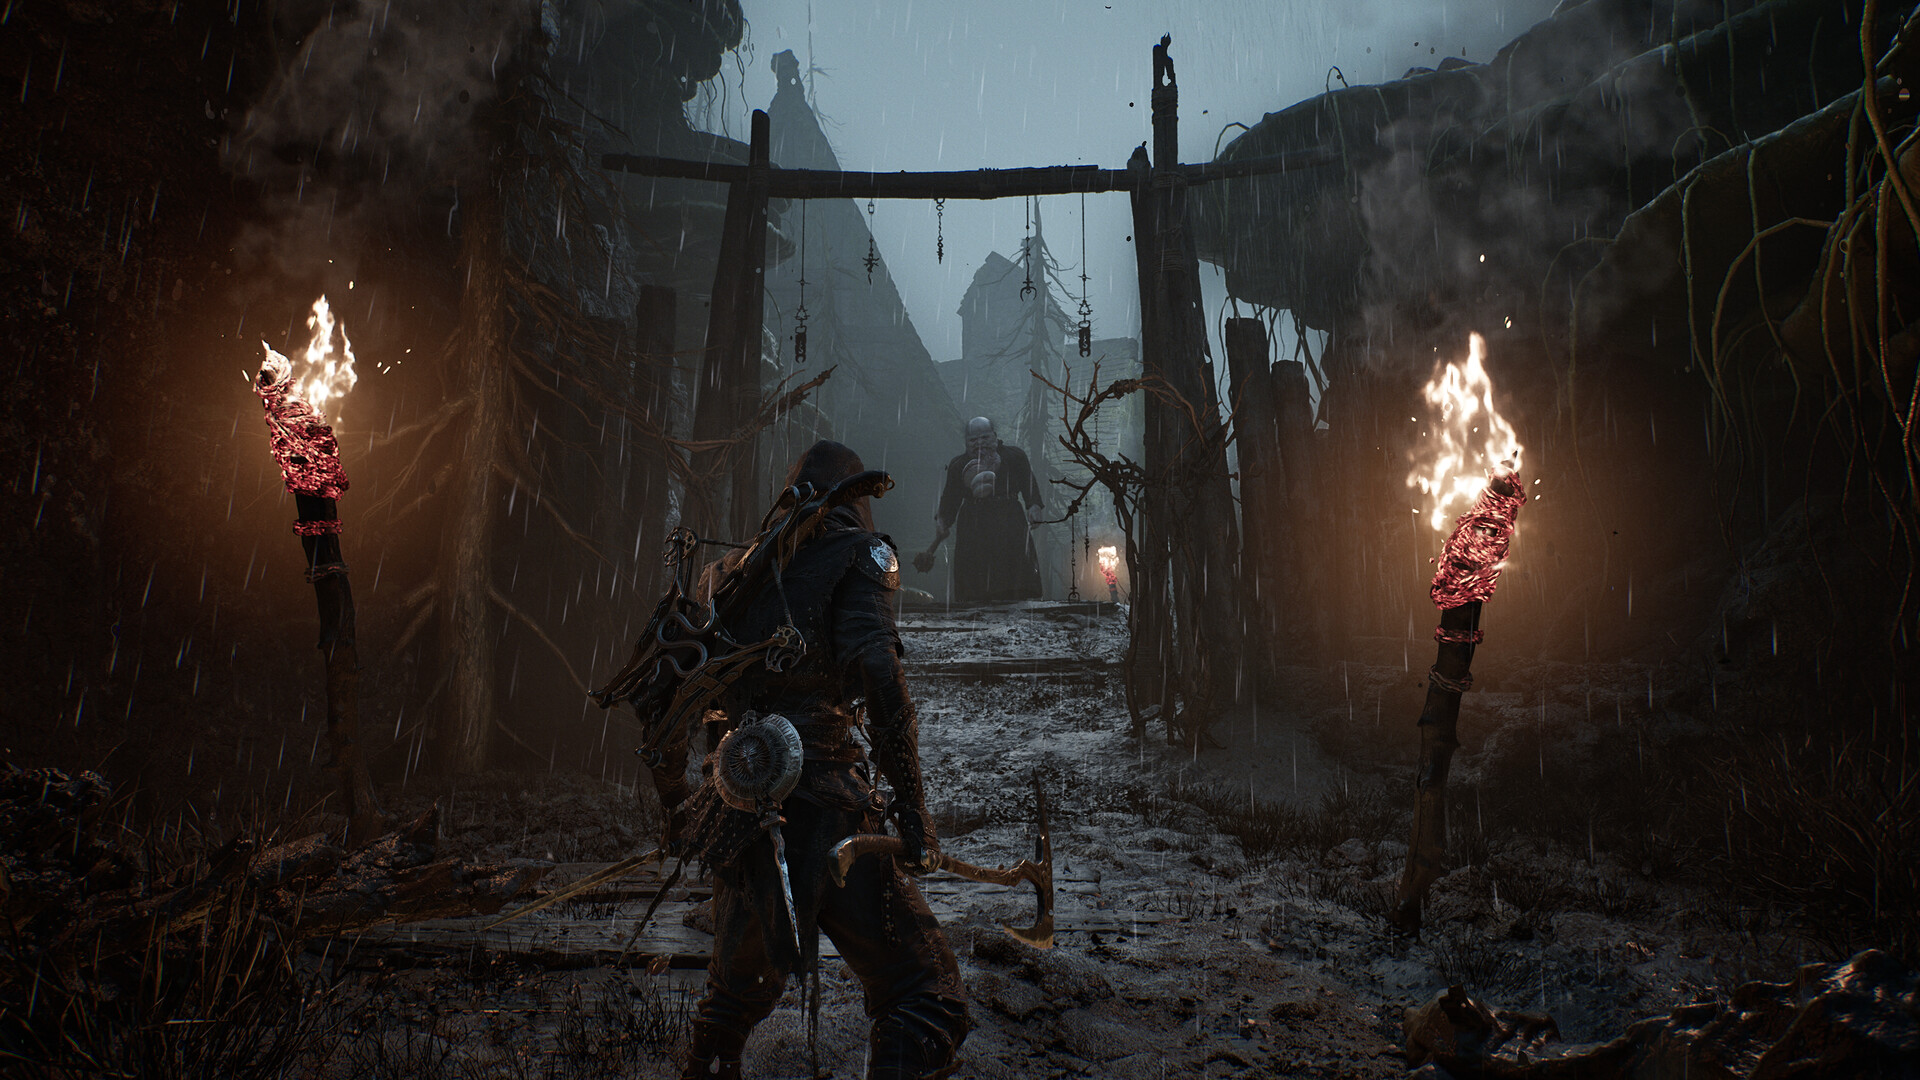
After Marrowkeep, the world opens. Follow the confirmed region route: Marrow Keep → Fainweald → Corrupted Gates → Mether's Breath → Ruins of Mammon.
Use these practical early priorities while moving through that route:
- Mushroom Village area — the first open region; Tiel's Shell and several early weapons live here (see shells).
- Proxima's region — unlock Proxima, one of the best early Shells (Proxima guide).
- Beacon network — cleansing beacons unlocks Mether's Breath fast travel; treat it as your #1 priority everywhere.
- Fog-gated dungeons — instanced challenge areas that do not re-open; mark and clear them region by region.
The main region route is now confirmed; the changelog tracks every update to this hub.
Shell unlock notes:
- Genessa — defeat Sester Secundus, then bring the Sester's Censer to Marrow Keep.
- Lazlo — defeat Lord Vellen of Mammon, then claim the Shell in the Crypts of Mammon.
- Sariel — defeat the Sariel boss, then claim the Shell in the Chamber of Becoming.
The confirmed route includes 10 major bosses. Confirmed named fights tied to Shell unlocks include Sester Secundus, Lord Vellen of Mammon and Sariel, while Marrowkeep also contains the prologue's first ritual boss fight.
Recommended Boss Order
Because the world is open, the order below is a recommendation rather than a forced path — it follows the complete story-required sequence documented on the bosses page:
- Tar Golem — prologue encounter. Treat it as grab-on-sight: the fight can be permanently skipped if you advance the area's story first.
- Magdalena, the Lady of the Woods — closes Glutted Mire.
- The Lost Child — closes Sanguine Caverns.
- The Nameless Captive — closes Prisoner's Domain.
- Droeg, the Conquerer — closes Conquered Temple.
- Hexapod — closes Withered Shoals.
- Sir Isaac, the Scholar-Prince — closes Faded Citadel.
- The Unbound Path endgame — Malborn Offspring, The Monolith and Orrem, the Reclaimed, then the final fight against Zmey, the Unbidden.
Slot the optional named fights tied to Shell unlocks in before that endgame stretch — Sester Secundus in Revenant Graves (Genessa), Vellen, High Lord of Mammon in the Crypts of Mammon (Lazlo) and Sariel in the Chamber of Becoming — so you reach the Unbound Path with the full roster and the Seedbearer's Scripture resistance for the final gauntlet.
Key Locations (Verified So Far)
| Location | Role | Status |
|---|---|---|
| Marrowkeep | Prologue stronghold; first forge; opening boss arena. | Confirmed |
| Fainweald | Confirmed main region after Marrow Keep; contains the Citadel of Penance. | Confirmed |
| Citadel of Penance | Eredrim's Shell location in Fainweald; reach it through the One-Legged Wolf Tavern's northeast fort bridge pouch. | Confirmed |
| Corrupted Gates | Route region where every gate must be cleared to push the main route forward. | Confirmed |
| Mether's Breath | Mid-game region and beacon-network fast-travel hub. | Confirmed |
| Ruins of Mammon / Crypts of Mammon | Late-game route region; Lazlo's Shell is in the Crypts after Lord Vellen of Mammon. | Confirmed |
| Chamber of Becoming | Sariel's Shell location; defeat Sariel to claim it. | Confirmed |
| Mushroom Village | First open-world region; Tiel's Shell location per beta reports. | Player report |
| Garrick's Den | Named dungeon/den encountered early; rewards include laterite and vestige materials. | Player report |
| Obsidian Lathe | Advanced forge upgrade location. | Player report |
Collectibles Checklist
Across the world you'll be collecting the same things, region after region. Keep this checklist handy:
- Beacons — cleanse all; they double as fast-travel nodes.
- Map fragments — reveal the region map.
- Tarstones — weapon upgrade stones; concentrate on one.
- Grisha Remnants — collectible remnants tied to a named Grisha hunt.
- Sidearms — the Triarch Repeater and Crossbow at minimum.
- Named items — Vatra's Seal, Coin of Mammon, Devout's Chalice and Infinite Seal are confirmed named pickups from 100% runs; their exact functions are still being documented.
Everything above is tracked area-by-area on the map & collectibles page.
Upgrade economy changed at launch? Yes — the day-one patch adjusted Tarstone costs and smelting. See the Mortal Shell 2 patch notes before planning your upgrade route.
Missables & Trophies
Two things are already flagged as missable by 100% guides:
- The "Mid Summer" trophy — missable during the opening stretch if you advance without collecting it.
- The Tar Golem — a missable encounter tied to a trophy; the Tar Golem appears in a specific location under conditions that can be permanently skipped.
Treat both as "grab on sight" until their exact windows are fully documented — full missable guides are coming in the next update pass.